


A weakness of the QD for only 6 LED lights also key in the key 4-way LED should not have looked very good and has no dc dc overcome this I will bring to the unexpected pleasure for you, also waiting so long.
After this tutorial I think you're playing remote QD Vietnam all over the country everyone can do it yourself dc, an easy way.
You need to have the following toys:
* Copper wire (type 0:10 mm)
* Mo weld
* Led key
* 2-sided tape
* Clock VOM (adjusted measure than X1)
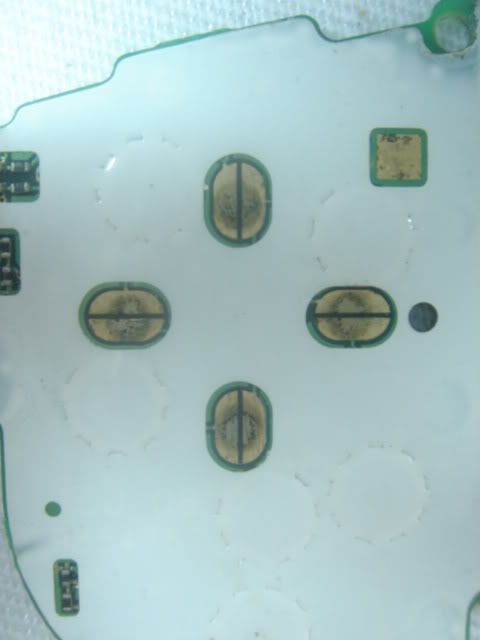
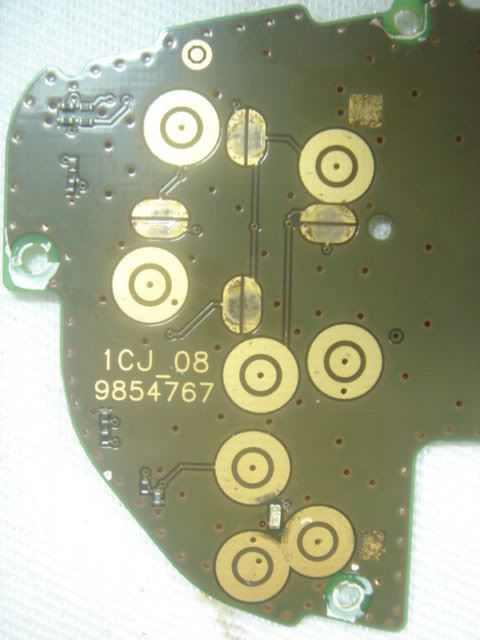
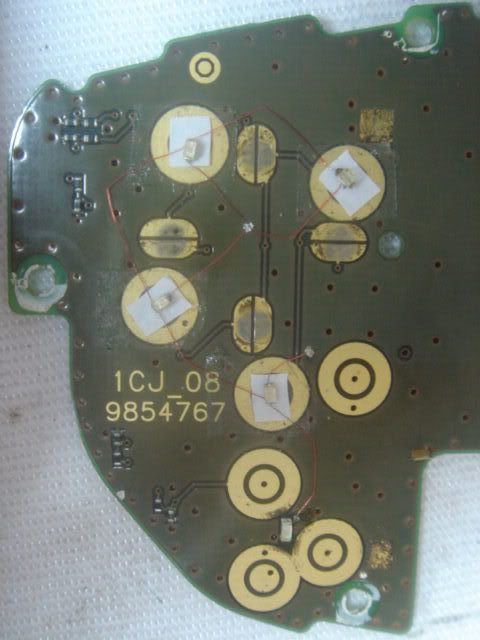
First, we open the machine took the main keyboard keys white cup loading plate (Figure 1 *) the same lun his only remaining as the main key (Figure 2 *)
1 cup paste * key panels
2 * Main QD key
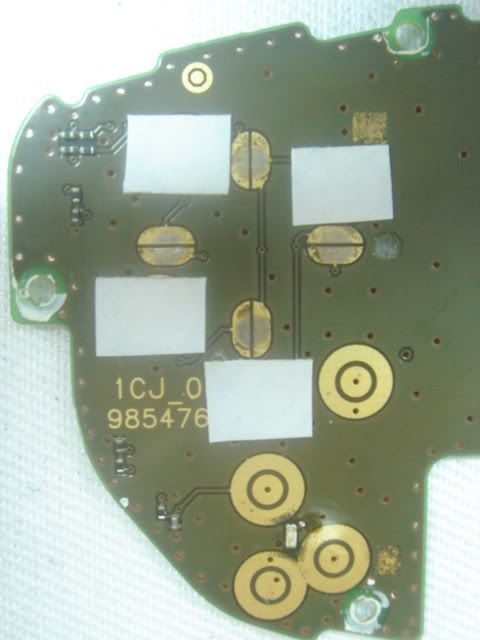
3 * Use 2-sided tape, cut four small pieces stuck in the position as shown
4 * copper wire position statement to start from scratch (+) as shown
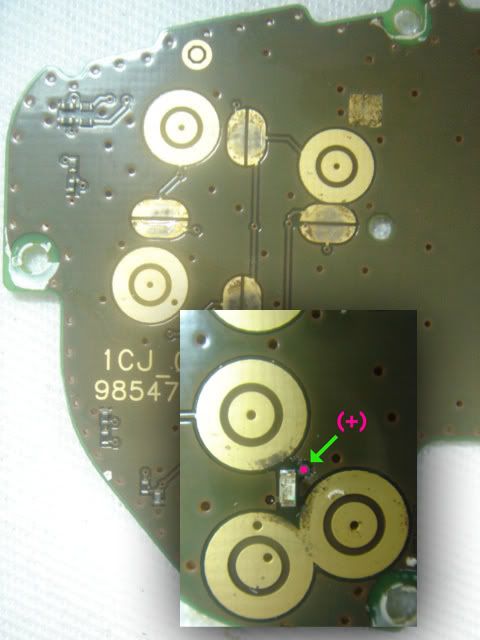
5 Layout of the main, from the (+) you will be linked from the bottom up for each LED, LED you connect the other end of the max (-)
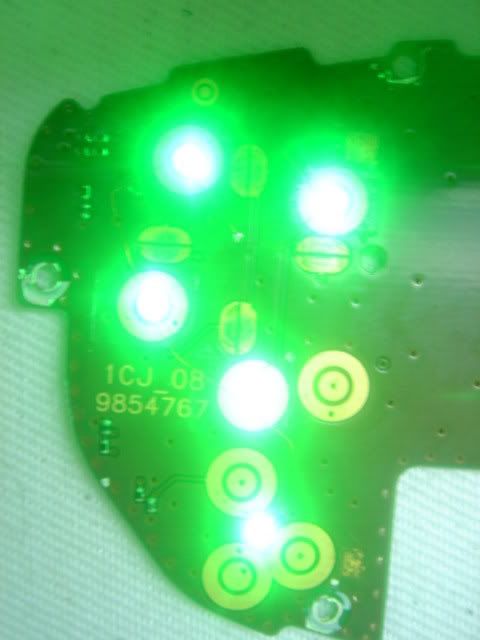
6 * after wiring is complete the next sentence you cut four sheets of paper under the LED buffer to avoid being hit ok led
7 * LED light is not a general test, the test question which led to a mild bottom-up led

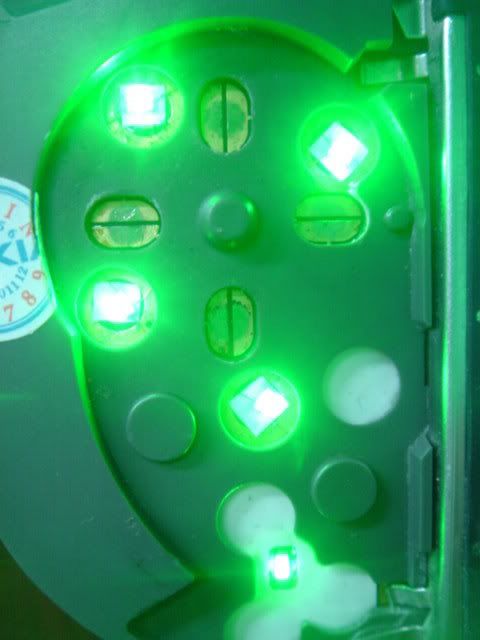
Next cut four small holes in the plate and then paste the key cup assembly machine to finish
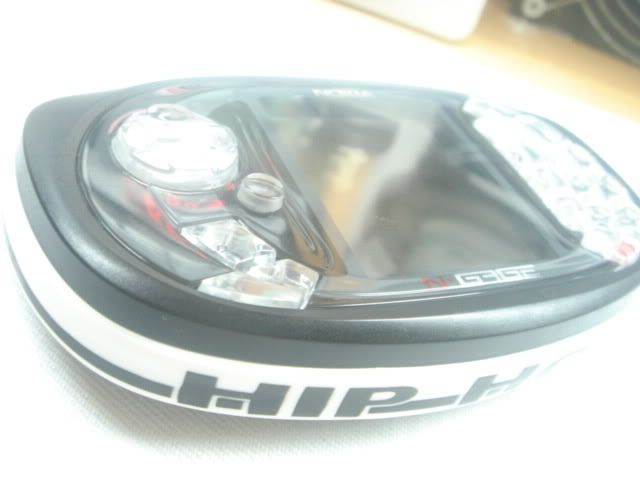
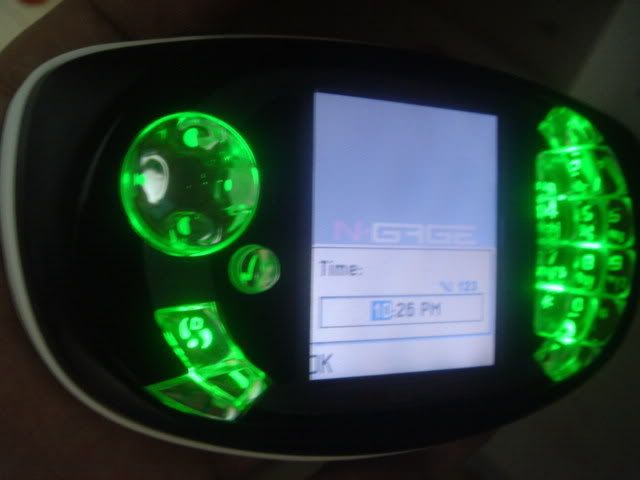
Finally your Ngage QD it like this ^ ^


0 comments:
Post a Comment